Easy Homemade Pizza Dough Recipe for Beginners
Unpopular opinion: You don’t need fancy equipment, imported Italian flour or years of baking experience to make genuinely amazing easy homemade pizza dough for beginners at home
You walk through the door after another long exhausting day. Your family is super hungry. Your energy is completely gone. And in the back of your mind a little voice whispers “What about pizza tonight?”
Admit it… You’ve talked yourself out of making homemade pizza more times than you can count. Here is the truth about pizza dough that nobody tells you: it is one of the most forgiving, beginner friendly doughs you will ever make. And once you make it just once.. I mean just once, you will never look at a frozen pizza the same way again
I know this because I was exactly where you are right now. Intimidated. Convinced I would mess it up, big time! Certain that my dough would turn out like cardboard or refuse to rise or stick to everything in my kitchen. But here we are… And I am about to walk you through every single step so clearly and simply that by tonight you could have fresh, easy pizza dough on your table made entirely from ingredients already sitting in your pantry. Ready? Let’s make some dough
Quick Recipe Overview
| Prep Time | 15 minutes |
| Rise Time | 1 hour |
| Cook Time | 12-15 minutes |
| Total Time | 1 hour 30 minutes |
| Servings | 2 medium pizzas about 8 slices each |
| Difficulty | Beginner friendly |
| Cuisine | Italian |
Key Takeaways
Steal these insights before you start:
- Your warm water temperature matters more than anything else.. too hot kills yeast, too cold won’t activate it
- A slightly sticky dough is actually better than a dry one.. resist adding too much flour
- Most of your time is completely hands off while dough rises.. use it to prep your toppings
- You can make this dough the night before for even better flavor
- This recipe makes 2 pizzas.. freeze one dough ball for next week!
- No stand mixer needed, your hands do all the work beautifully…
Now before we dive into ingredients let me quickly tell you why this specific recipe works better than most you will find online…
Table of Contents
Why You Will Love This Recipe
There are approximately ten million pizza dough recipes on the internet. So why is this one different?
Hot take: most pizza dough recipes online are written for people who already know how to make pizza dough. This one is written specifically for you: the busy person who wants real homemade pizza without culinary school, expensive equipment or an afternoon to spare, people who really wanna learn how to make easy homemade pizza dough for beginners, pizza from scratch
Beginner Friendly From First Word to Last
Every single step in this recipe is explained the way a patient friend would explain it, not the way a cookbook written for professional chefs would explain it. You will know exactly what your dough should look like, feel like and smell like at every stage
Budget Friendly Every Single Time
- The ingredients for two full pizzas cost a fraction of one takeout order
- Everything you need is probably already sitting in your pantry right now
Perfect for Your Busy Schedule
- Here is the beautiful secret about pizza dough..
- Most of the time is completely hands off
- You spend 15 minutes actively working and then the dough does its own thing for an hour while you prep toppings, help with homework, watch something on Netflix or simply breathe
Genuinely Better Than Store Bought
- I know that sounds bold but fresh homemade dough creates a lighter texture, richer flavor and crispier crust than anything that comes in a refrigerated tube or frozen bag
- There is simply no comparison once you taste it side by side
Endlessly Customizable
- Classic Margherita
- Loaded pepperoni
- White garlic pizza
- Vegetable heaven… This dough works beautifully with literally any topping combination your family loves
Okay. Now you know why this recipe works. Let’s talk about what you actually need to make homemade pizza dough…
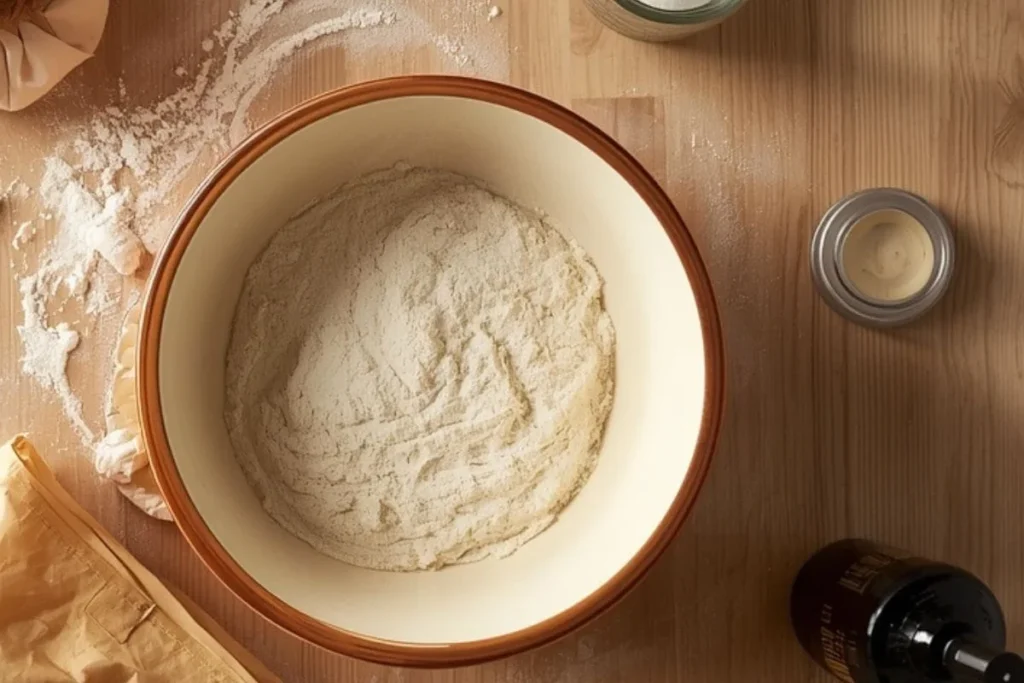
Ingredients You Will Need
What no one tells you: the quality of your homemade pizza dough comes down almost entirely to two things..
- your yeast and
- your water temperature
Get those right and everything else falls into place..
For the Easy Homemade Pizza Dough For Beginners
- 3½ cups (420g) all purpose flour plus extra for dusting
- 1 packet (2¼ teaspoons) instant yeast
- 1 teaspoon granulated sugar
- 1 teaspoon fine sea salt
- 1¼ cups (300ml) warm water (about 105-110°F / 40-43°C)
- 2 tablespoons extra virgin olive oil
Optional Toppings
Once your beautiful dough is ready you can top it with absolutely anything your heart desires:
- Pizza sauce (homemade or store bought both work perfectly)
- Fresh mozzarella or shredded mozzarella
- Pepperoni
- Italian sausage
- Mushrooms
- Bell peppers
- Red onions
- Black olives
- Fresh basil
- Parmesan cheese
- Chili flakes
Pro tip that most people ignore: don’t overload your pizza with toppings.. A lighter layer helps your crust bake evenly and stay gloriously crisp instead of turning soggy in the middle
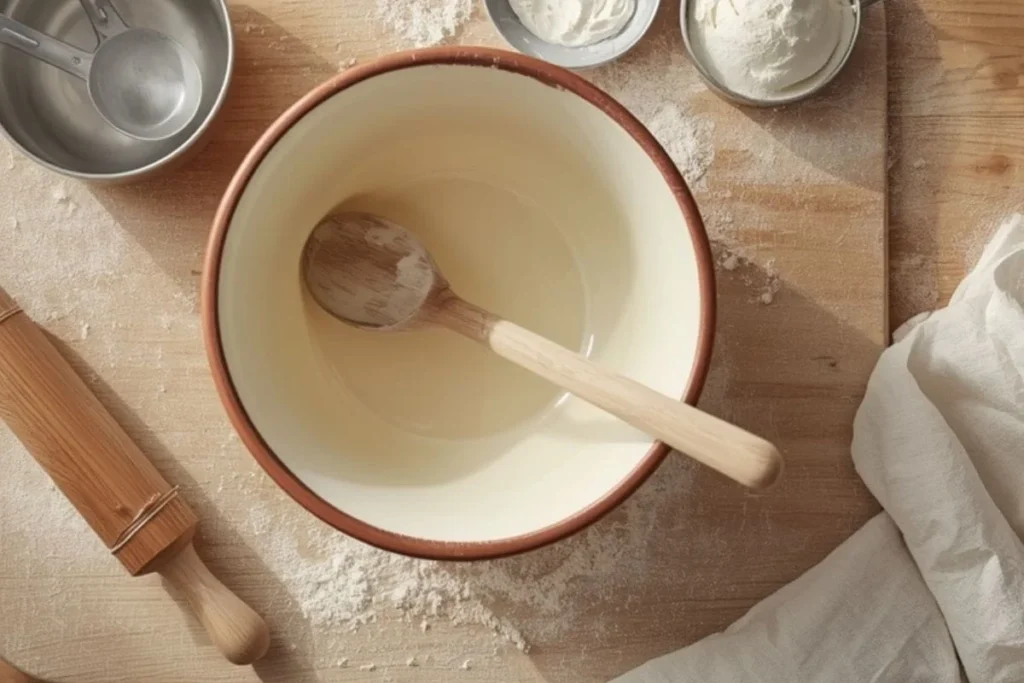
Kitchen Equipment
This is for everyone who assumed they needed a stand mixer and a professional pizza oven. You don’t. You really don’t. Here is everything you actually need:
- Large mixing bowl
- Wooden spoon or silicone spatula
- Measuring cups and spoons
- Clean kitchen towel or plastic wrap
- Baking tray or pizza pan
- Rolling pin (optional.. your hands work just as well)
- Parchment paper (optional but helpful)
If you happen to have a pizza stone sitting somewhere in your kitchen go ahead and use it, it creates an incredible crispy base. But if you don’t have one please don’t let that stop you. A regular baking tray produces genuinely delicious results every single time
Alright.. you have your ingredients, you have your equipment and you are ready to make some magic happen. Here is your complete step by step guide…
Step by Step Instructions
If you struggle with baking or have never worked with yeast before, this section is written specifically for you
Read through all the steps once before you start. It takes three minutes and makes the whole process feel much more familiar
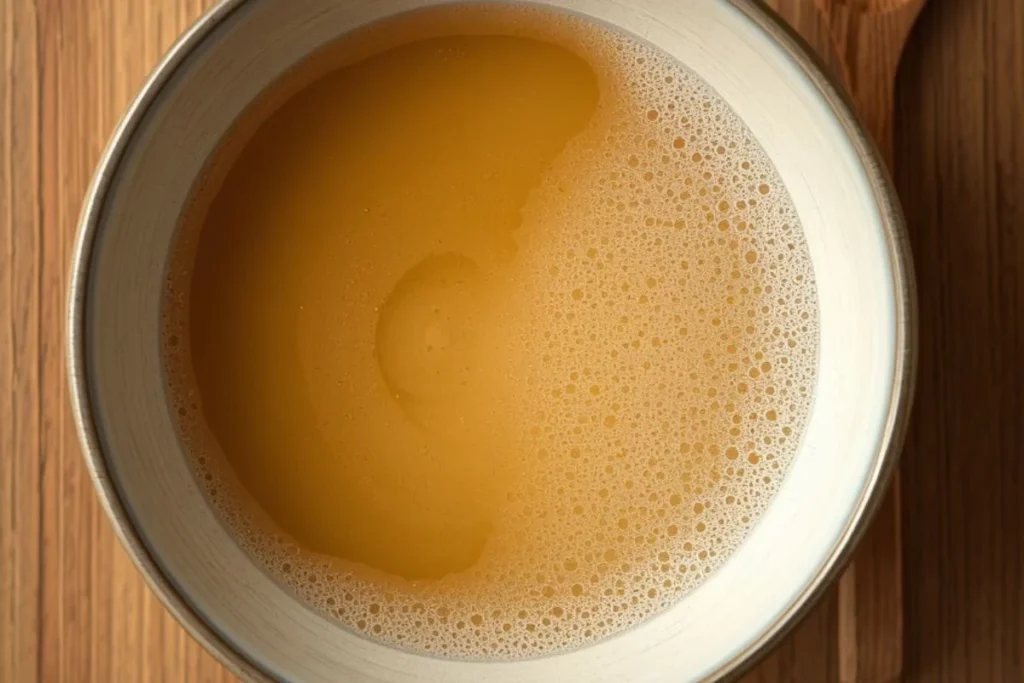
Step 1: Wake Up Your Yeast
Warning: This is the step where most beginners go wrong and it is the easiest one to get right..
- Pour your warm water into your large mixing bowl
- Add the sugar then sprinkle in the yeast
- Give everything a gentle stir and just let it sit undisturbed for 5-10 minutes
- Here is what you are watching for… a light foamy layer forming on top of the water
- That foam is your yeast waking up, getting active and telling you it is alive and ready to work
Now here is the most important thing I can possibly tell you about this step:
- Your water temperature matters enormously
- Water that is too hot, above 115°F will kill your yeast completely
- Water that is too cold will not activate it properly
How do you check without a thermometer? Simple..
Your warm water should feel comfortable to the inside of your wrist like warm bath water
- Not hot
- Not cold
- Warm and pleasant…
If you are using instant yeast (which I recommend for beginners) you can actually skip this waiting step and mix everything together at once.. Instant yeast is more reliable and forgiving than active dry yeast making it the perfect choice for your first time
See that foam forming? That means you are already doing this perfectly. Let’s keep going…
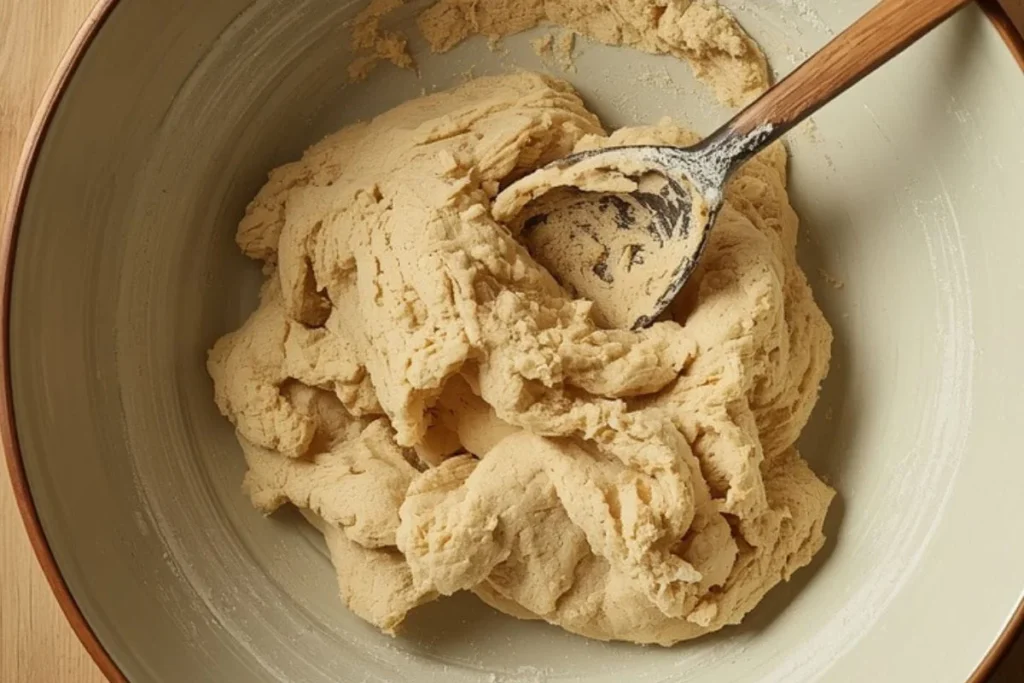
- Add your olive oil and salt to the bowl with the activated yeast
- Now start adding your flour gradually, one cup at a time.. stirring well after each addition
- This gradual approach helps everything combine evenly without creating lumps or dry pockets
- At first your dough is going to look rough, shaggy and honestly a little messy
Maybe even a little alarming if you have never seen dough form before.. That is completely perfect. That is exactly what you want
- Keep mixing and stirring until everything comes together into one large rough ball
- It will not be smooth yet It will not be pretty yet
- And that is totally fine because that transformation happens during the next step
- This is where the real magic begins, kneading…
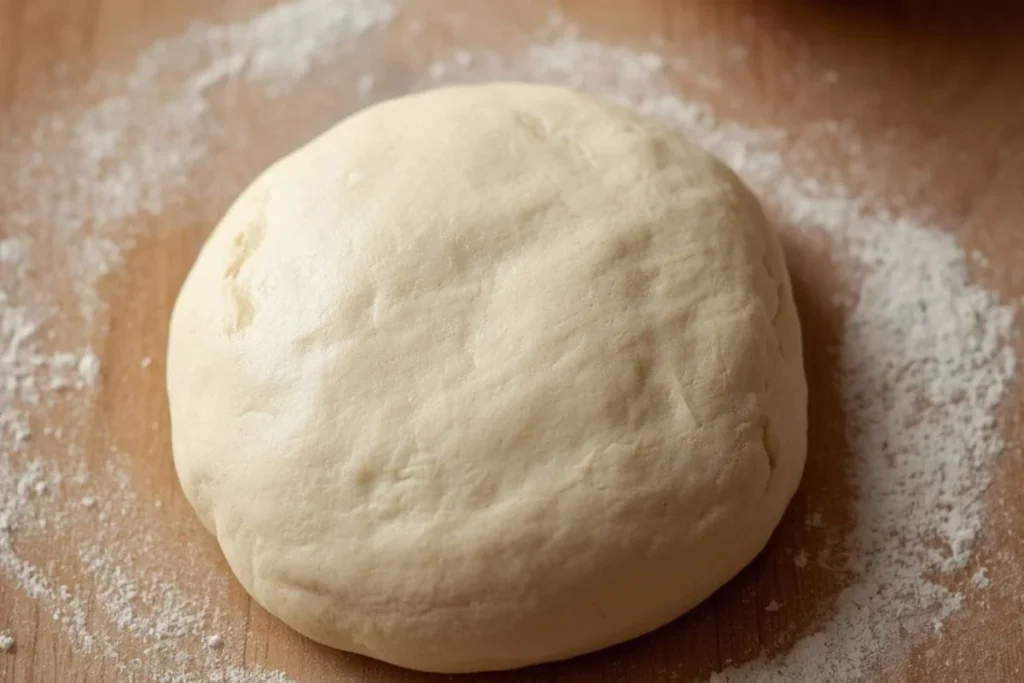
Step 3: Knead Until Smooth
Most people make this mistake
- They add too much flour during kneading because the dough feels sticky
- Please resist that urge with everything you have
- Lightly flour your countertop or a large clean surface
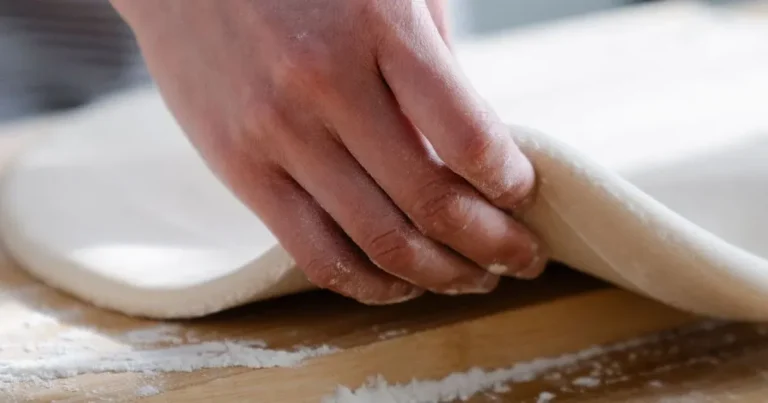
- Turn your dough out onto it and begin kneading
The kneading motion is simple and rhythmic once you get going:
- Fold the dough over itself toward you
- Press it firmly away with the heel of your hand
- Rotate the dough slightly
- Repeat After about 8-10 minutes of this you will notice something genuinely satisfying happening
The rough shaggy ball from the previous step starts transforming into something smooth, elastic and almost silky. Your perfectly kneaded dough should feel:
- Soft and pleasant to touch
- Smooth like a baby’s cheek
- Slightly stretchy when you pull it gently
Just a tiny bit tacky but not sticking to your hands If your dough is sticking badly to your hands or the surface add a tiny amount of flour but only one tablespoon at a time. A slightly sticky dough consistently produces a softer more delicious crust than a dry one
Now comes the part where you actually get to relax for a while…
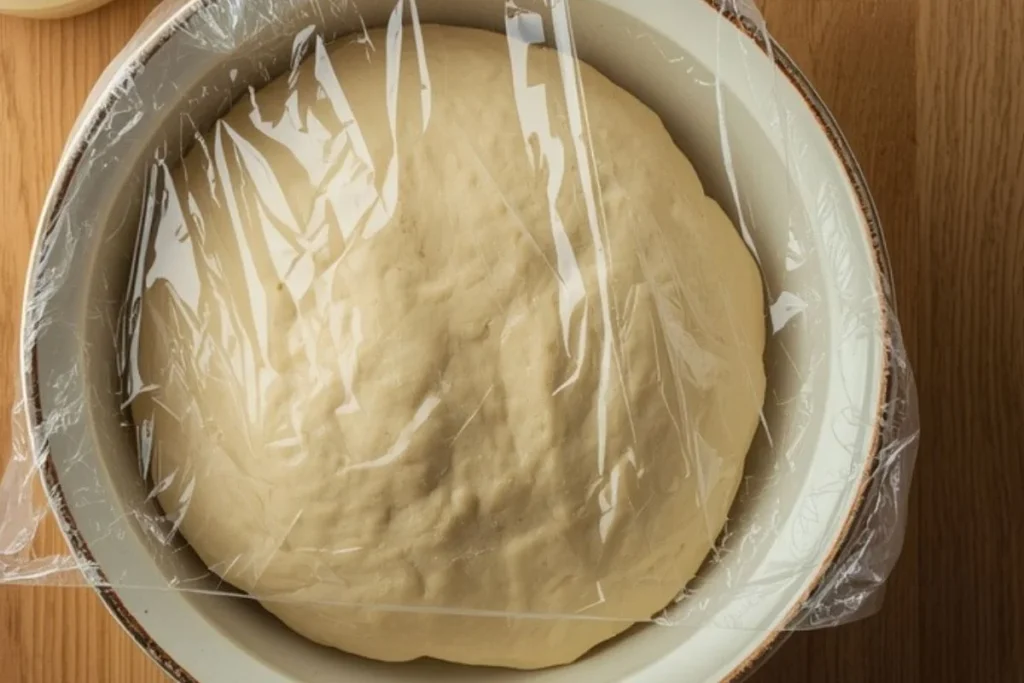
Step 4: Let Your Dough Rise
- This is honestly my favorite step because your only job right now is to do absolutely nothing..
- This prevents a dry crust forming on the outside
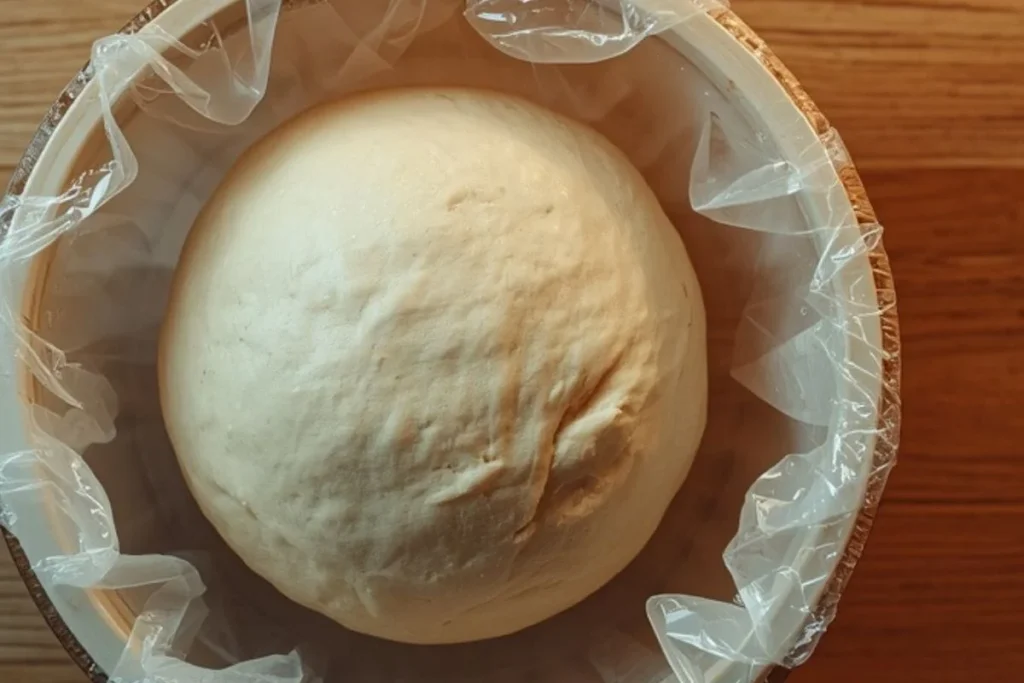
- Cover the bowl with a clean kitchen towel or plastic wrap and place it somewhere warm
Now walk away. Leave it alone. Let it do its beautiful thing for about one hour or until it has doubled in size
Here is a brilliant cheat code for a warm rising spot:
- Turn your oven on to the lowest possible setting for exactly two minutes then turn it off completely
- Place your covered dough inside that slightly warm oven
- The residual warmth creates the perfect rising environment especially in cooler homes
- Use this time wisely
Prepare your toppings. Make a salad. Set the table. Spend time with your family. Or pour yourself something nice and simply relax… you have earned it. While your dough is working its magic it is time to get your oven ready…
Step 5: Preheat Your Oven
About 20 minutes before your dough finishes rising preheat your oven to 475°F (245°C)
Yes that sounds very hot. It is supposed to be. A blazing hot oven is honestly one of the biggest secrets to achieving that beautifully crispy golden crust that makes homemade pizza genuinely better than most takeout
The intense heat creates an immediate crust on the outside while keeping the inside soft and chewy. If you have a pizza stone place it inside the oven while it heats. A cold pizza stone defeats the purpose entirely.. it needs to be screaming hot before your pizza touches it
Okay your dough has doubled. Your oven is preheating
This is the moment you have been waiting for…
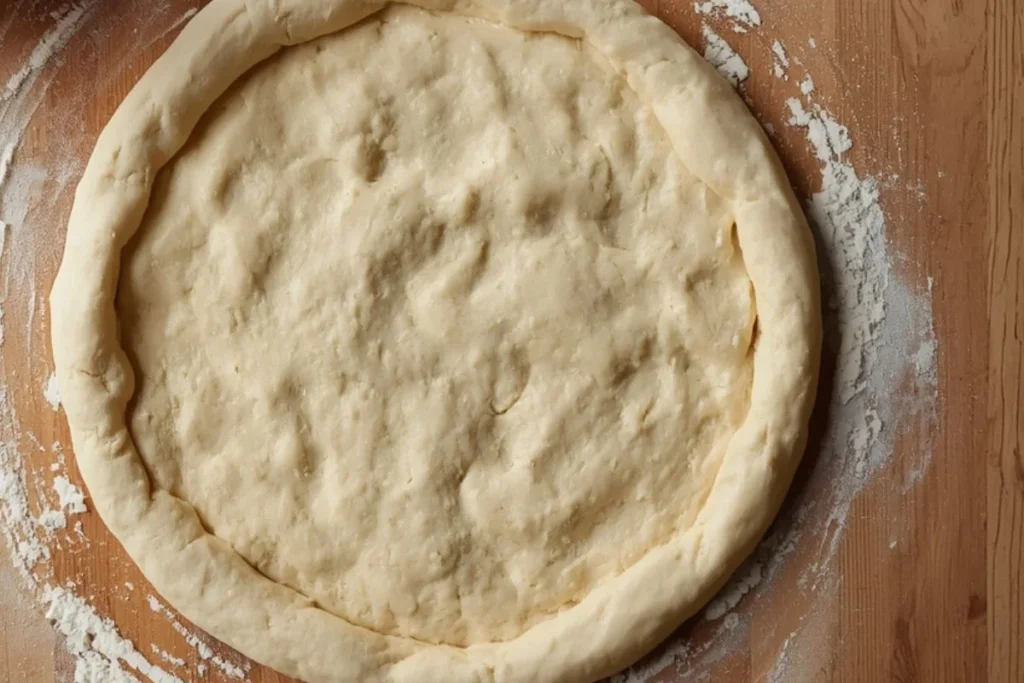
Step 6: Shape Your Pizza
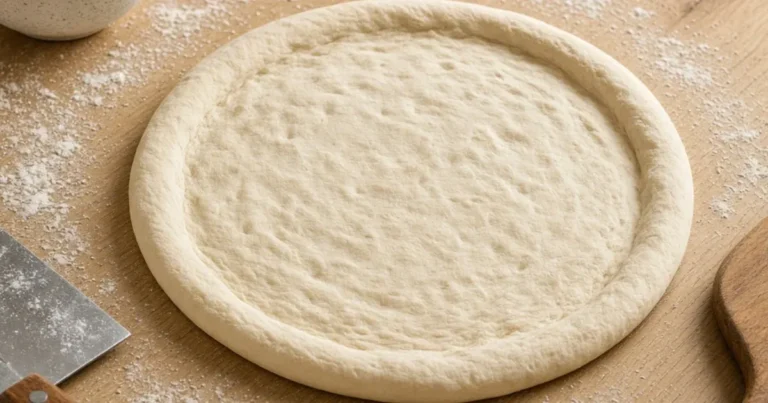
- Gently punch your doubled dough down to release all the air built up inside
- It makes a deeply satisfying sound if you were wondering. Divide it into two equal portions
- Each one becomes a pizza
Now for shaping and here is where I want you to completely let go of the idea that your pizza needs to be a perfect circle
It does not. It never did
- You can use a rolling pin to roll each portion into roughly a 10-12 inch circle
- Or you can simply use your hands to press and stretch the dough outward from the center
- Rustic uneven edges are not a sign of failure
- They are a sign of real easy homemade pizza dough for beginners, the kind that tastes infinitely better than anything that came out of a perfect factory machine
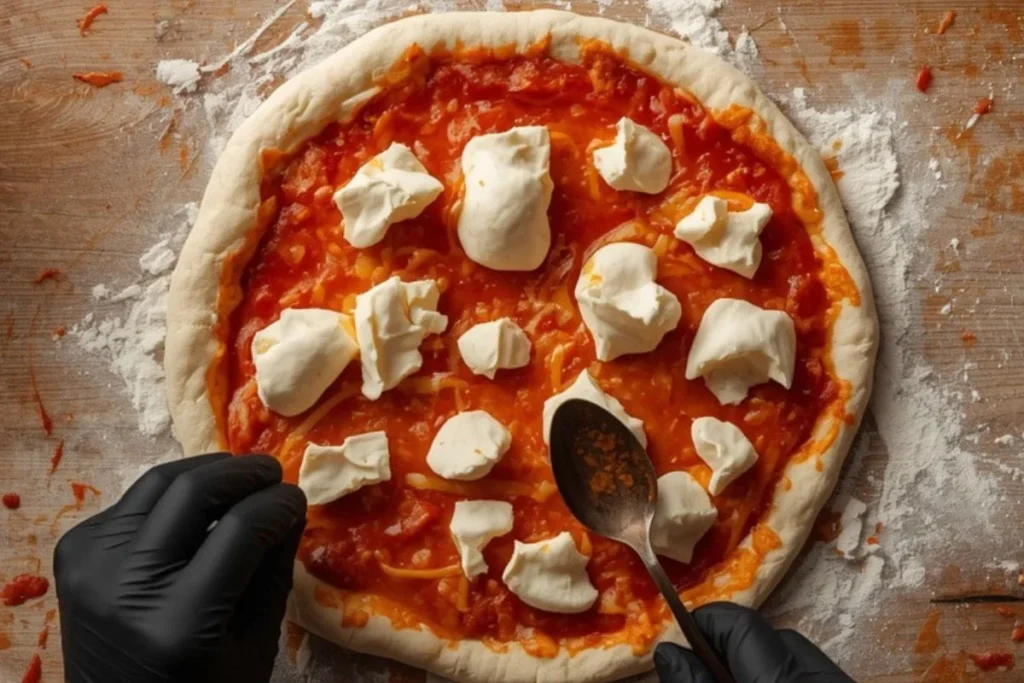
Now for the fun part…
Step 7: Add Your Toppings
- Spread a thin generous layer of pizza sauce over your shaped dough leaving about half an inch of crust around the edges
- Add your mozzarella cheese
- Then add whatever toppings your heart is calling for tonight
And here is your one golden rule for toppings:
- less is genuinely more
- I know it is tempting to pile everything on
But too many toppings create too much moisture which makes your crust soggy before the cheese even has time to properly melt
A lighter hand with toppings consistently produces a better pizza
Trust the process. Into the oven it goes…
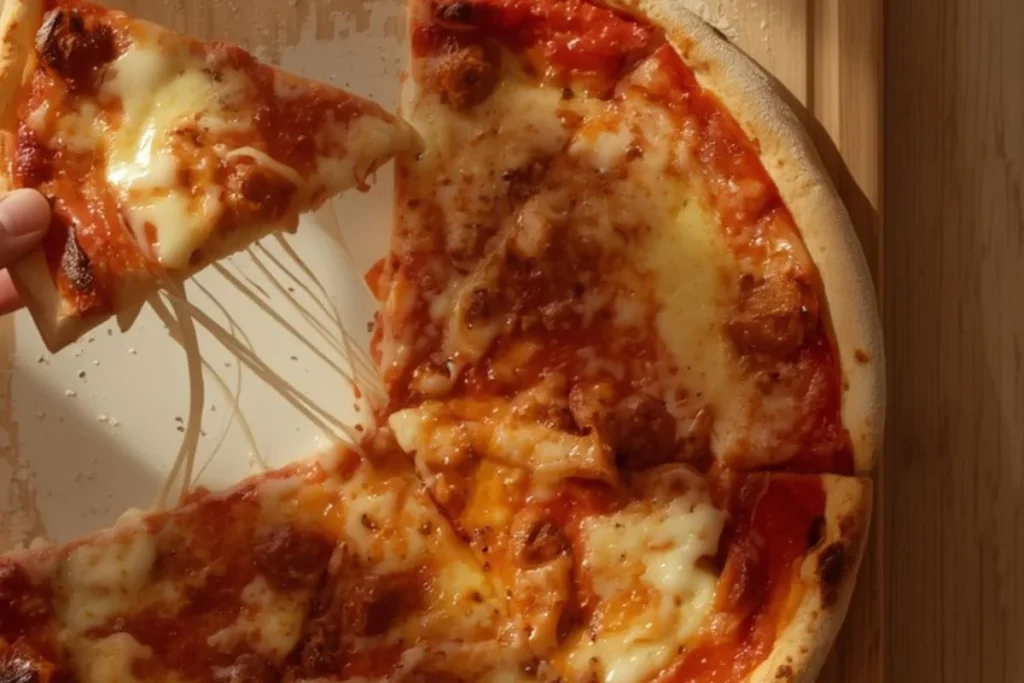
Step 8: Bake Your Pizza
Slide your topped pizza into your blazing hot oven
Bake for 12-15 minutes checking around the 12 minute mark because every oven behaves slightly differently
Your pizza is ready when:
- The cheese is melted bubbling and starting to get those gorgeous golden spots
- Your crust is golden brown around the edges
- The bottom sounds hollow when you tap it lightly
- The whole kitchen smells absolutely incredible
Almost there. Just one more step and I promise it is worth the patience…
Step 9: Finish and Serve
Remove your pizza from the oven and let it rest for 2-3 minutes before slicing
I know. I know..
It looks and smells incredible and waiting feels impossible.. But these two minutes allow the cheese to settle slightly so your toppings stay in place when you cut and the crust finishes developing its texture.
Finish with:
- Fresh basil leaves torn over the top
- A scattering of freshly grated Parmesan
- A generous drizzle of your best extra virgin olive oil
- Cracked black pepper if you like
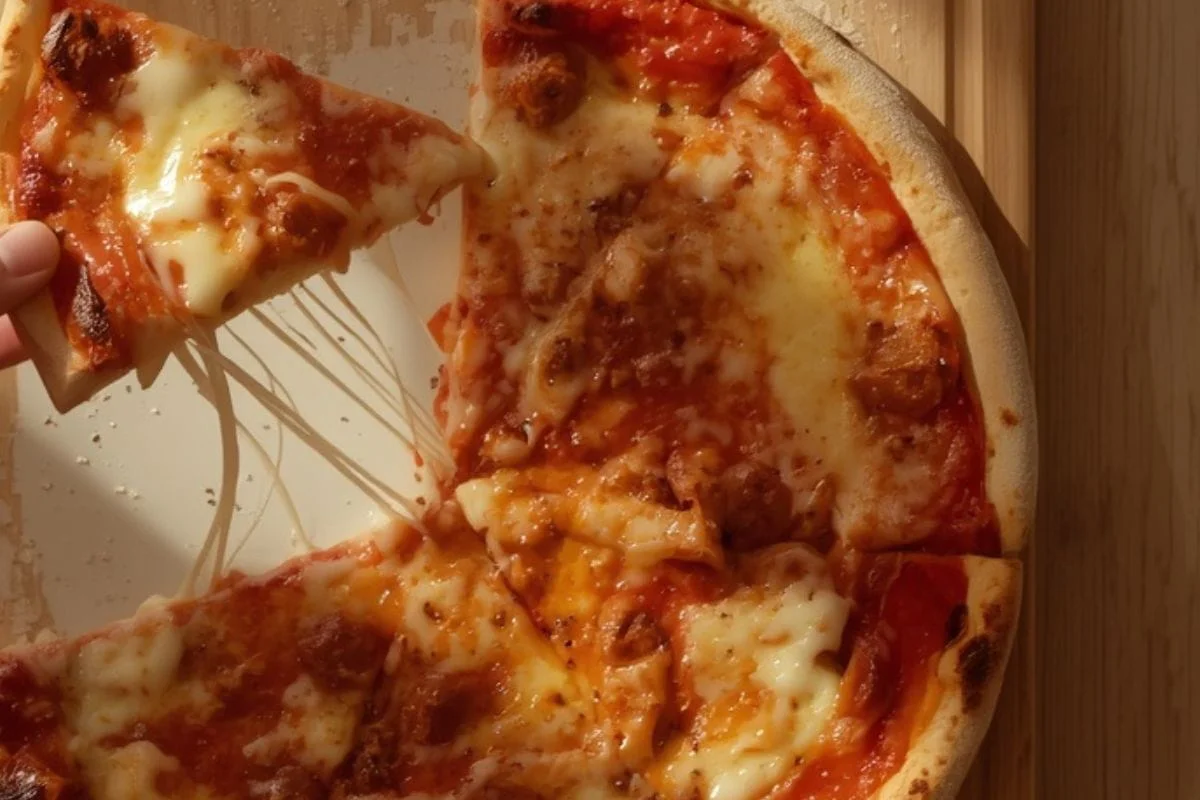
Serve immediately while everything is gloriously hot and the cheese still stretches beautifully when you pull a slice away
And there you have it. Your first completely easy homemade pizza dough for beginners
Now let me share a few expert tips that will make every future pizza even better…
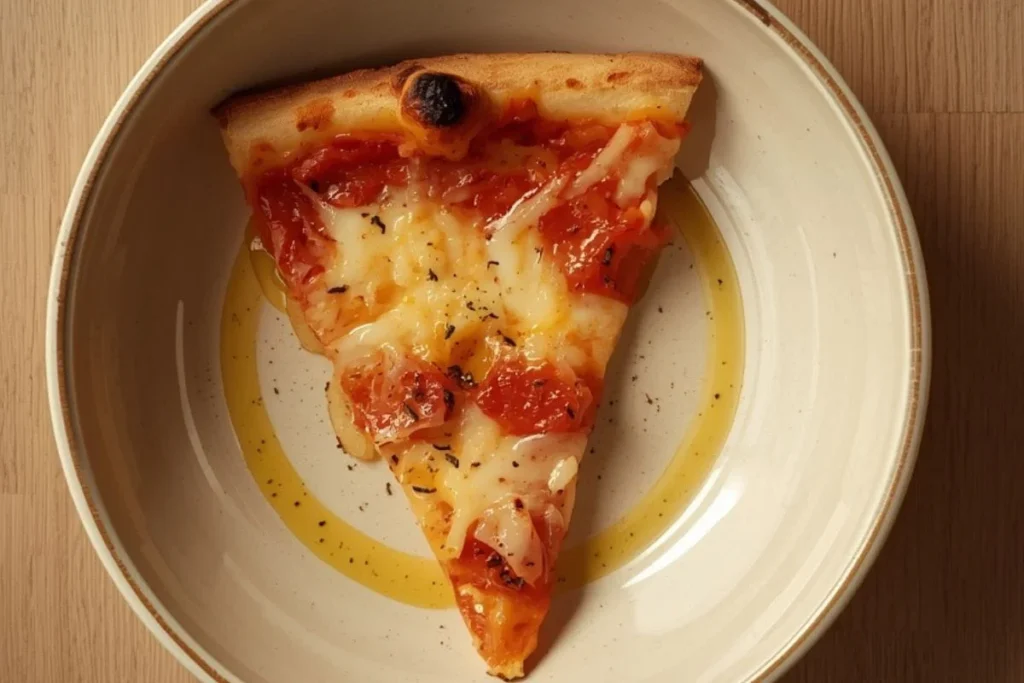
Expert Tips for Perfect Pizza Dough Every Time
Do this instead of what you have been doing, your pizza dough will never disappoint again..
- Use Fresh Active Yeast: Always check your yeast expiry date before starting. Expired yeast is the number one reason beginner pizza dough fails to rise. Fresh yeast means lighter airier crust. Simple as that
- Never Rush the Rise: The longer your dough rises within reason the more complex and developed the flavor becomes. If you have time let it rise for 90 minutes instead of 60. The difference in flavor is genuinely remarkable
- Preheat Everything Properly: Your oven needs a full 20-30 minutes to reach proper temperature. Don’t rush this. And if you have a pizza stone it must be in the oven from the beginning not added after preheating
- Resist the Extra Flour Temptation: This is probably my most important tip. A slightly sticky dough feels uncomfortable when you are kneading it but it almost always bakes into a better pizza than an overly floured stiff dough. Keep your flour additions minimal and one tablespoon at a time
- Let Your Pizza Rest After Baking: Those two minutes before cutting are not optional. The cheese is still actively setting and the crust is still developing. Cutting immediately causes toppings to slide off and cheese to pour everywhere. Wait. You will not regret it..
Now let me show you some incredible ways to use this easy homemade pizza dough for beginners beyond your classic pizza…
Delicious Variations
The cheat code to endless pizza nights:
Master this one dough recipe and then let your creativity run wild..
Classic Margherita
Keep it beautifully simple with pizza sauce, fresh mozzarella, torn basil leaves and a generous drizzle of olive oil. This is the pizza that started it all and it is still unbeatable
Italian Sausage Pizza
Top your dough with cooked Italian sausage, melted mozzarella, sliced onions and colorful bell peppers. Hearty, filling and absolutely perfect for a hungry family dinner
Veggie Lover’s Pizza
Load your pizza with mushrooms, fresh spinach, olives, cherry tomatoes, onions and peppers. Colorful, delicious and secretly one of the most satisfying pizzas you will ever eat
Meat Lover’s Pizza
Combine pepperoni, Italian sausage, cooked bacon and ham with generous mozzarella. This is the pizza that makes everyone at the table suddenly very quiet in the best possible way
Garlic Parmesan White Pizza
Skip the tomato sauce entirely. Brush your dough with garlic infused olive oil, scatter Parmesan, add mozzarella and finish with fresh parsley
Controversial? Maybe. Absolutely delicious? Always!
What to Serve With Your Homemade Pizza
Turn pizza night into a complete Italian feast with these simple sides:
- Fresh Caesar salad
- Italian garden salad with simple vinaigrette
- Garlic bread made with leftover dough
- Roasted seasonal vegetables
- Classic tomato soup
- Antipasto platter with olives and cured meats
- Fresh fruit salad for dessert
Sparkling lemonade or Italian soda
Storage Tips
Never waste leftover pizza dough again…
- Refrigerator Storage: Coat your extra dough ball lightly with olive oil and place it in an airtight container. It keeps beautifully in the refrigerator for up to 3 days. When you are ready to use it simply take it out 30 minutes before you need it and let it come to room temperature before shaping
- Freezer Storage: Wrap each dough ball tightly in plastic wrap then place it inside a freezer safe bag. Your dough keeps perfectly in the freezer for up to 3 months. To use it just transfer from freezer to refrigerator the night before and let it thaw overnight. Then bring to room temperature before shaping
- Leftover Pizza Storage: Store your leftover baked pizza in an airtight container in the refrigerator for up to 4 days. The best way to reheat it is in a hot skillet on the stovetop for 2-3 minutes. The base gets crispy again, the cheese melts beautifully and it tastes almost as good as fresh..
Never use the microwave for leftover pizza if you can avoid it
Frequently Asked Questions
Real questions from real beginners answered honestly..
Can I make this easy homemade pizza dough for beginners ahead of time?
Absolutely and honestly you should try it at least once. Making your dough the night before and letting it rise slowly in the refrigerator overnight develops an incredible depth of flavor that same day dough simply cannot match. Take it out 30 minutes before shaping and you are good to go.
Can I freeze homemade pizza dough?
Yes completely. Divide your dough into individual pizza portions, wrap each one tightly and freeze for up to three months. Future you will be extremely grateful when pizza night comes around and half the work is already done
Why didn’t my dough rise?
The most likely reasons are expired yeast, water that was too hot or too cold or a room that was simply too cold for rising. Check your yeast freshness first. Then check your water temperature. And if your kitchen is cold try the warm oven trick mentioned in Step 4
Can I use bread flour instead of all purpose flour?
Yes and it creates a noticeably chewier crust because bread flour contains more protein. If you love that thick chewy texture you get at your favorite pizza restaurant bread flour is worth trying. All purpose flour produces a lighter slightly crispier result
Do I absolutely need a pizza stone?
No. A regular baking tray or pizza pan produces genuinely delicious results. A pizza stone simply helps create an extra crispy base if that texture is important to you. But do not let the absence of a pizza stone stop you from making pizza tonight
Can I make this without a stand mixer?
This recipe was specifically designed to be made entirely by hand. No stand mixer needed or wanted. Your hands are your best pizza making tool and they will serve you perfectly
What if my dough is too sticky?
Add flour one tablespoon at a time while kneading. But remember.. slightly sticky dough usually produces better pizza than overly dry dough. Only add flour if it is genuinely difficult to work with
Can I make this gluten free?
You can try a gluten free flour blend but the results will be different in texture and behavior. Gluten free dough generally does not stretch the same way and may need additional binding ingredients
For your first time making easy homemade pizza dough for beginners, I recommend starting with regular all purpose flour

Easy Homemade Pizza Dough for Beginners
Ingredients
Method
- Step 1: Pour your warm water into your large mixing bowl. Add the sugar then sprinkle in the yeast. Give everything a gentle stir and let it sit for 5-10 minutes until foamy and active
- Step 2: Add your olive oil and salt to the yeast mixture. Gradually add your flour one cup at a time, stirring well after each addition until a rough dough ball forms
- Step 3: Turn the dough onto a lightly floured surface and knead for 8-10 minutes until smooth, soft and slightly stretchy. Resist adding too much flour – a slightly sticky dough makes better pizza
- Step 4: Place the dough in a lightly oiled bowl, turn once to coat, cover with a kitchen towel and let rise in a warm place for 1 hour until doubled in size
- Step 5: Preheat your oven to 475°F(245°C) about 20 minutes before the dough finishes rising. A hot oven is essential for a crispy crust
- Step 6: Punch down the risen dough and divide into 2 equal portions. Roll or stretch each into a 10-12 inch circle
- Step 7: Add a thin layer of pizza sauce, cheese and your favorite toppings.. Remember – less is more for the best results
- Step 8: Bake for 12-15 minutes until the crust is golden brown and the cheese is melted and bubbling with beautiful golden spots
- Step 9: Let the pizza rest for 2-3minutes before slicing. Finish with Parmesan, a drizzle of olive oil and cracked black pepper.. Serve immediately
Notes
- Freeze extra dough for up to 3 months – wrap tightly in plastic wrap
Refrigerate dough overnight for a deeper, more complex flavor – take it out 30 minutes before shaping - Always check that your yeast is fresh before starting – expired yeast is the most common reason dough fails to rise
- Water temperature 105-110°F is critical – too hot kills the yeast, too cold won’t activate it
- A slightly sticky dough always makes better pizza than an overly floured, dry doughTip 1: Use a kitchen scale for the flour if you have one – it gives more consistent results than measuring cups Tip 2: If your kitchen is cold, place the rising dough in your oven with just the oven light on for gentle warmth Tip 3: Brush the crust edges with olive oil before baking for an extra golden, crispy finish
You have now made easy homemade pizza dough for beginners from scratch. From actual scratch. With your own hands and a handful of pantry staples. That is genuinely something to be proud of. The first pizza you make with this dough might not be perfectly round. The crust might be slightly thicker in some places than others. The toppings might slide around a little when you cut it. None of that matters even slightly
What matters is that you made it. That your kitchen smells incredible right now. That your family is about to eat something you created with your own hands instead of ordering from somewhere else. Make this dough twice and it starts feeling familiar. Make it five times and it starts feeling easy. Make it ten times and you will be the person your friends text when they want to learn how to make easy homemade pizza dough for beginners from scratch. That is how it works
That is how confidence in the kitchen is built.. Your Italian pantry is stocked. Your oven is hot. Your family is hungry. What are you waiting for?

With love and pizza,
Sonia Romano
ItalianPantryRecipes.com
Get Free Italian Recipes Delivered Every Week!
More Easy Italian Recipes You Will Love
- 5 Easy Italian Pasta Recipes You Can Make Tonight
- One Pot Italian Meals for Busy Weeknights (coming soon)